7 Drawing Tips for Beginners
A child’s first scribbling is something which it tries to express if you give a pencil in his hand. Drawing is relatively very simple and an easy skill and is something with which you can have great fun. It is also relatively not a very expensive hobby and can start with paper and a pencil. It can go on till acquiring costly pen and tablets – a computer hardware through which you can draw on your computer. It is very costly; however the precision for perfection is very high.
Unlike earlier days, getting information on drawing and sketching is very easy and inexpensive. You can search information on Google and get various sites which teach drawing. Also, nowadays this art form is liked by many youngsters. Like all other art forms, with constant and systematic practice one can become a great artist.
Listed below are few drawing tips which can help anyone improve their skill and become an artist. Reading and practicing these in your daily routine will improve your skill.
1. If you are drawing and you are right handed person, ensure that the light is from your left side. This will prevent your hand shadow falling on your paper.
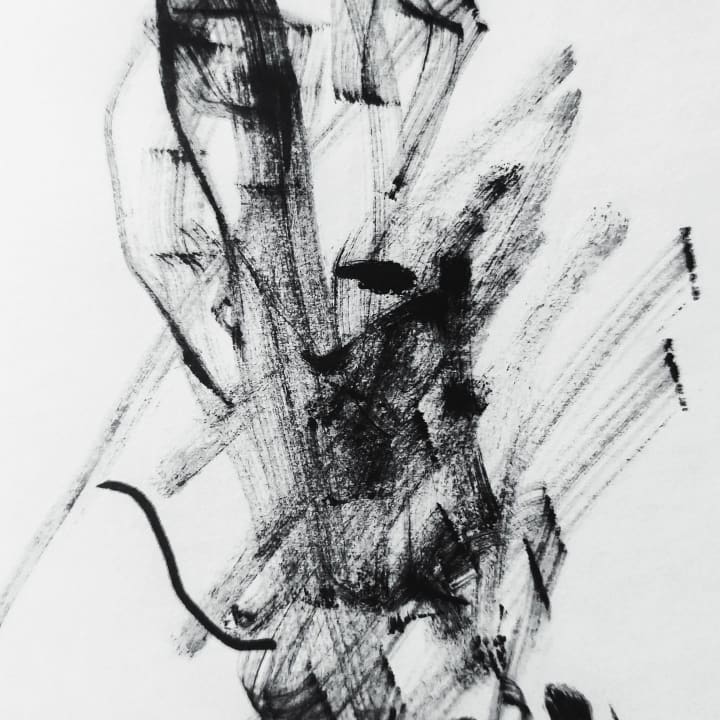
2. First step when you practice drawing – you should practice drawing line, straight line, curved line, scribbled lines, and your hand should obey the command of your thoughts and visions. You should control your hand and you should be able to bring out what you want.
3. You should further develop drawing circles, oval shapes, crossed lines and bold and thick lines. Just like how a baby develops from crawling stage to walking stage, your art should also develop step by step.
4. These lines and curves are like pillars to a building. The foundation should be strong enough to have a good building; similarly these initial small lines and curves will go a long way in your career. You should also start controlling the stress on your pencil. You should be able to bring the correct darkness and thickness in the lines what you draw.
5. Initially you will not be able to draw a circle or an oval shape correctly, nevertheless don’t get discouraged. You should practice and practice until you get perfection. You should also keep all your drawings carefully from the start to know how you are improving. You could also date your sketches and preserve it for the future.
6. You should concentrate in the area where you feel you are weak. If you are not able to shade properly then learn more to do that. You can try out your own style of shading. Build your own individuality, never copy from another artist.
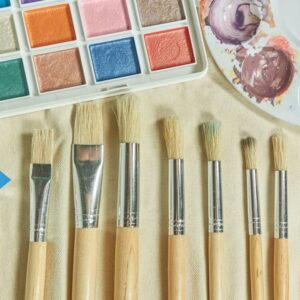
7. Last but not the least, use good quality materials. 4B and 6B pencils and good chart paper or note book with good quality paper should be sufficient to start with. Quality definitely matters hence never compromise on quality.