Collecting Mexican Folk Art
Many people collect museum quality artwork by world renowned Mexican artists. Others choose practical items such as talavera dishes, hand-woven textiles or silver jewelry. Some prefer items of a ceremonial tradition…\:
I love Mexican folk art! Whenever possible, I try to buy it directly from the artisans who create it. The pieces that speak to me, I keep and add to my own collection. The others, I share with family and friends as gifts, or sell to other collectors and home decor aficionados.
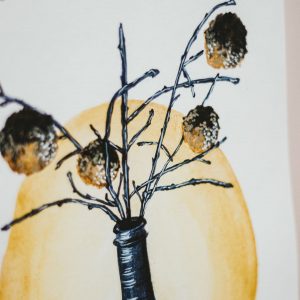
Many people collect museum quality artwork by world renowned Mexican artists. Others choose practical items such as talavera dishes, hand-woven textiles or silver jewelry. Some prefer items of a ceremonial or religious nature such as beaded masks, prayer bowls or retablos. Still others are attracted to the bright colors and whimsical design of Oaxacan wood carvings known as alebrije, painted tin ornaments, and Day of the Dead miniatures. Each of these items, and many more not mentioned, contribute to the diversity and charm of Mexican folk art.
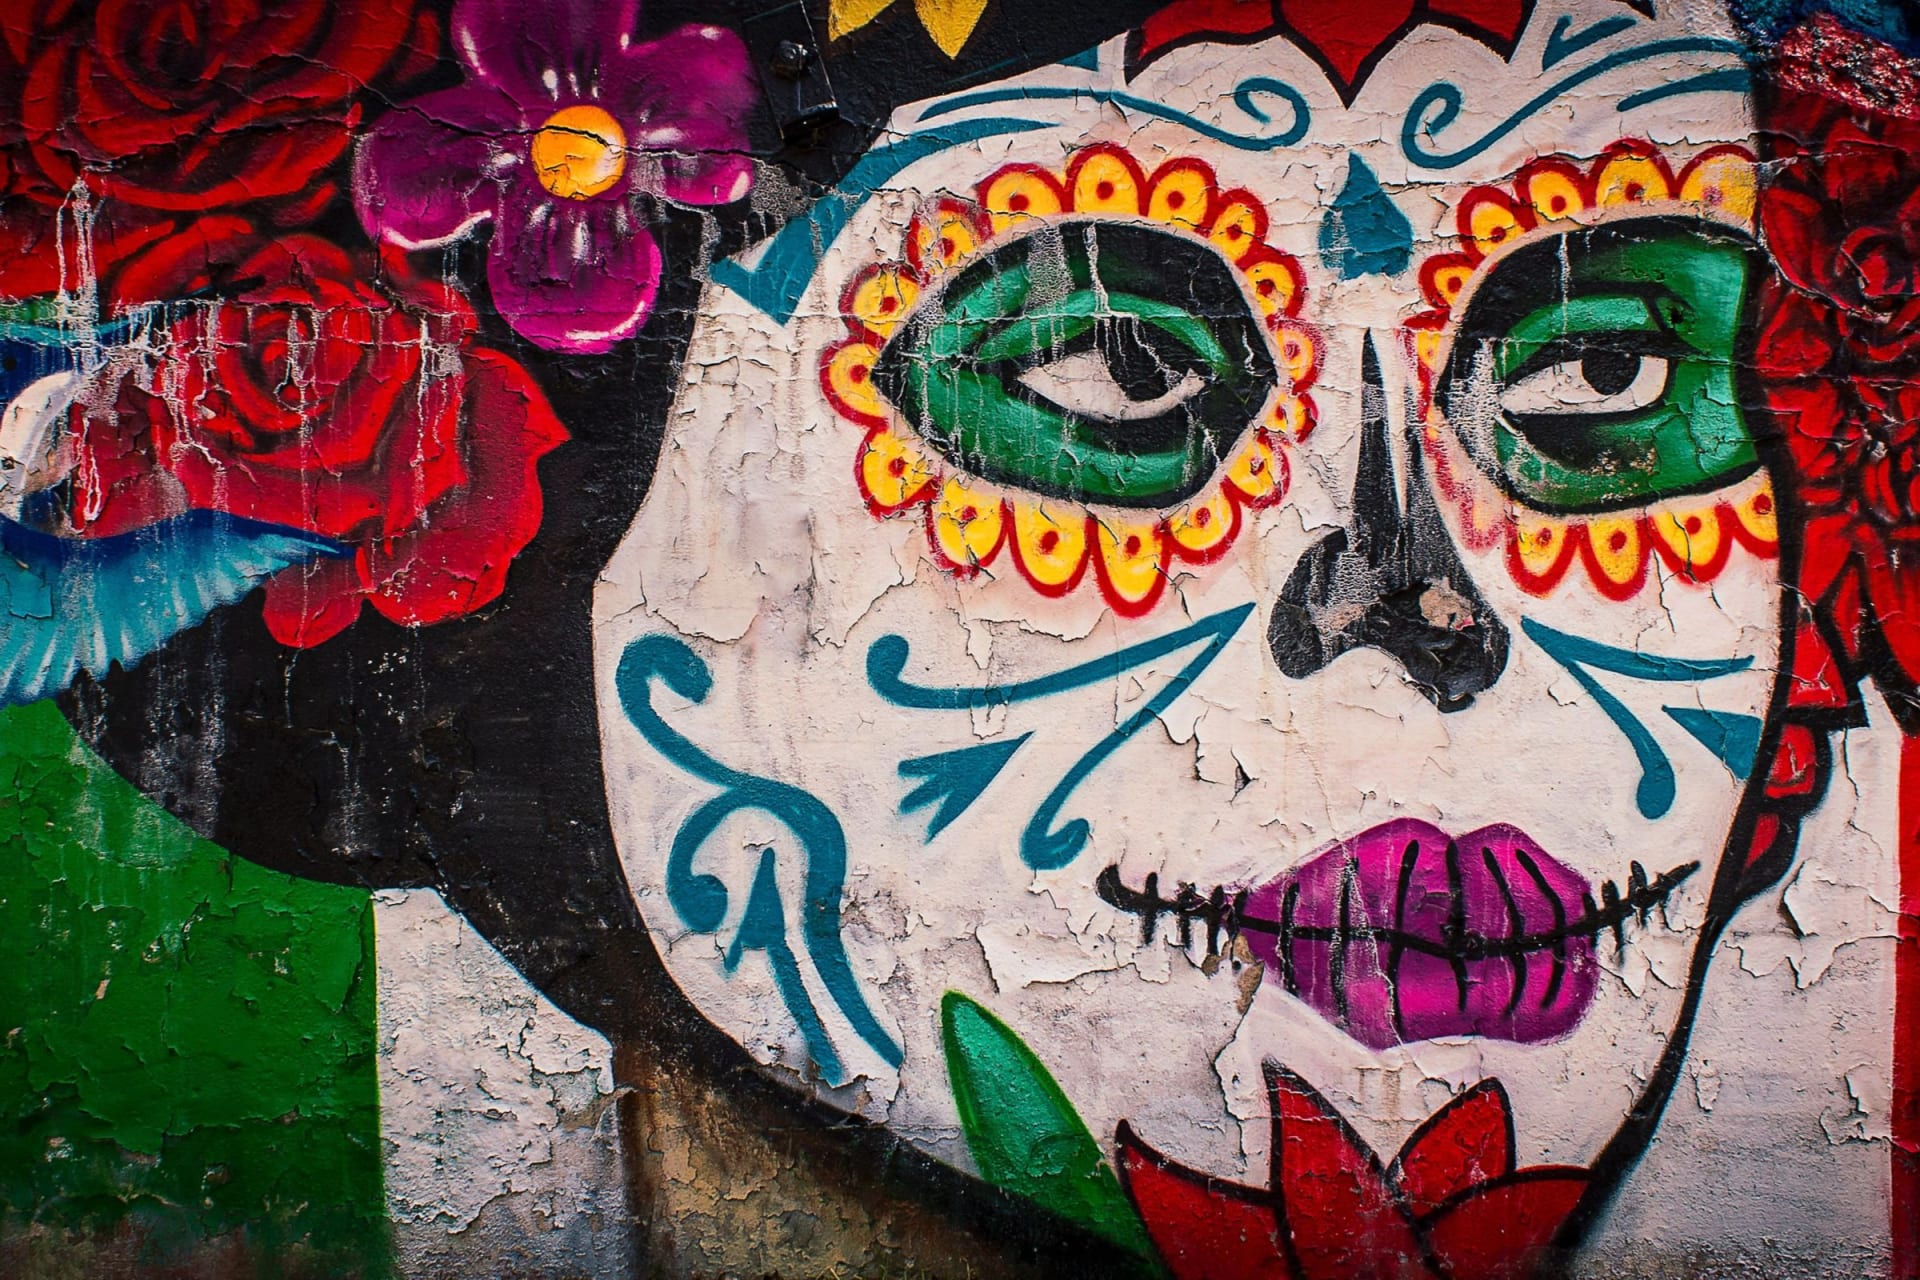
The history of Mexico is depicted in Mexican folk art. Each piece tells a story or provides a symbolic representation of the Mexican people and their culture. Some folk art reflects the indigenous cultures of the past, many lost to the colonization by the Spaniards. Spanish influences are also present in some works, as are Christian, pagan and folkloric themes. A true collector must study Mexican beliefs and cultural values in depth to fully understand Mexican folk art.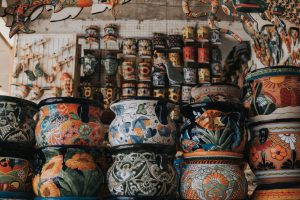
As a new collector, you?ll want to know what to look for to be sure your Mexican folk art is authentic. One key element is the use of indigenous materials from each region of Mexico. For example: alebrije are made from the wood of the copal tree. This tree grows only in the Oaxacan valley. Craftsmanship is another telltale clue. Skill and style will vary between artisans and the price and quality will reflect their ability. However, authentic work is always aesthetically pleasing, well made, and is typically labeled in some manner, whether signed by the artist, with his or her village noted, or at least labeled Hecho en Mexico.
If you?re able to visit Mexico, buy folk art directly from the artisans or purchase from local shops in the region where it is made. Do not buy from vendors in tourist areas unless you wish to pay inflated prices for items that may be of an inferior quality. If your purchases are limited to specialty shops, galleries or online stores in the U.S., make sure you are dealing with a reputable seller and always check out their return policies before buying.
For additional help, there are numerous resources available at your local bookstore. The best, though pricey, is Great Masters of Mexican Folk Art by Fernandez De Calderon Candida. Several others are good hands-on guides pertaining to a specific type of folk art or region of Mexico.
One last thing and the most important in my opinion. When you buy and collect Mexican folk art, you are helping artisans earn a living wage through fair trade which enables them to support their families. You?re also supporting the continuation of ancient traditions and generations old craftsmanship, rather than endorsing mass-produced cheaply made copies of the real thing.
Now, let?s go shopping!