Almost all artists learned first and then studied later
Almost all artists learned first and then studied later. From the greatest to the least, every one of them practiced and learned with very little guidance if any. Along the way though, without exception, mistakes are made and as realization ultimately comes, are corrected.
The following is a compilation of the most common mistakes in drawing that you would want to avoid.
- Do not start drawing with a hard pencil. Hard pencils are good for light shading but if you must start sketching use instead pencils with darker values like a 2B or a 4B.
- When you are a beginner, do not use flash photography as reference. Flash photography because of the nature of its lighting gives you no depth to work on. Aside from that, perspective points are located behind the head that tends to flatten the features and expressions more. Even professional artists find it very hard to duplicate the expressions on a face when using flash photography. Making it harder is the fact that there is often a smile in the snapshot. The sketches from snapshots are more likely to produce faces that grin without a lively mirth to it.
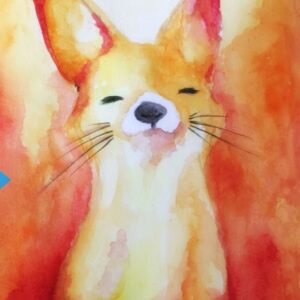
- If you must sketch a face, the model should face slightly to one side. This way you could have a good evaluation of skin tones, lights, and shadows that are natural and the natural expressions of the personality behind the sketch that you are working on.
- Sketch for balance. Focusing much on a person’s feature especially those that stands out will tend to overemphasize a particular feature drawing them too big making the rest of the head out of proportion.
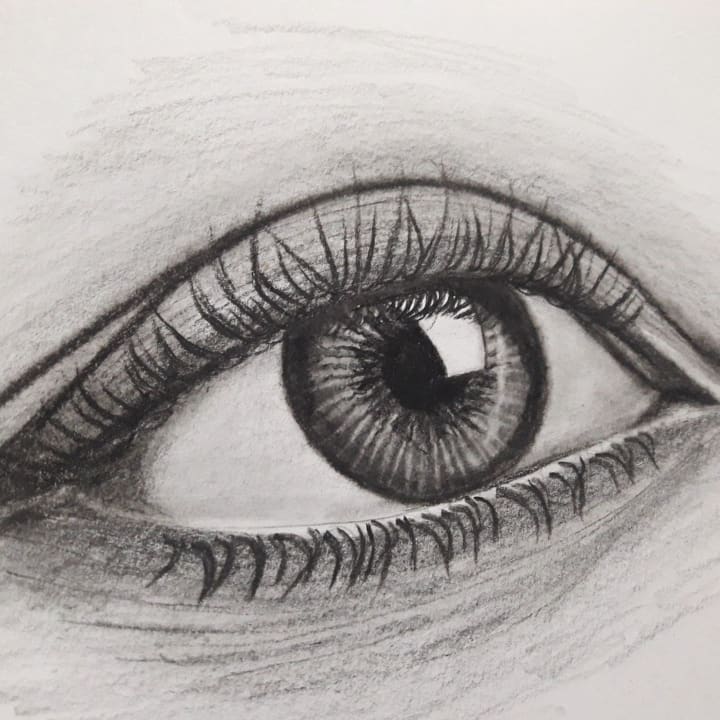
- When starting to sketch, start with light stokes and ensure that the features of the model are in the correct angle with the rest of the head. This mistake is one of the most common as we are used to looking at a face straight on that when an angle is done, twitching and distortion of features occur.
- Most sketches are not shaded past grey, when you shade, do not hesitate to go darker. It will add more strength and expression, give your drawing more depth and drama. Limiting your shades to dark grey decreases your tone range. So experiment with darker values. To get a better idea, have a dark colored (even black) paper at the edge of the drawing and use it for tone reference.
- Choose the paper well. Papers that are manufactured with sheen on the surface will result to pale drawings, as the paper is too smooth to hold pencil particles. On the other hand too coarse a paper will hold too much of pencil particles that your application of shades will be off. Select a paper which is neither too coarse not too smooth.
- When sketching foliage, do not use circular hand motion and strokes. Use instead crescent shaped marks. That way your foliage and trees will appear more natural and realistic.
- Among the common mistakes in drawing grass or hair is to draw every blade and every hair leaving a mangled wiry effect. Use contrast instead. To avoid this, apply also feathery light pencil strokes.
But of course, you need to make mistakes to progress so don’t worry if you do a terrible drawing. To get better, you need to make mistakes.
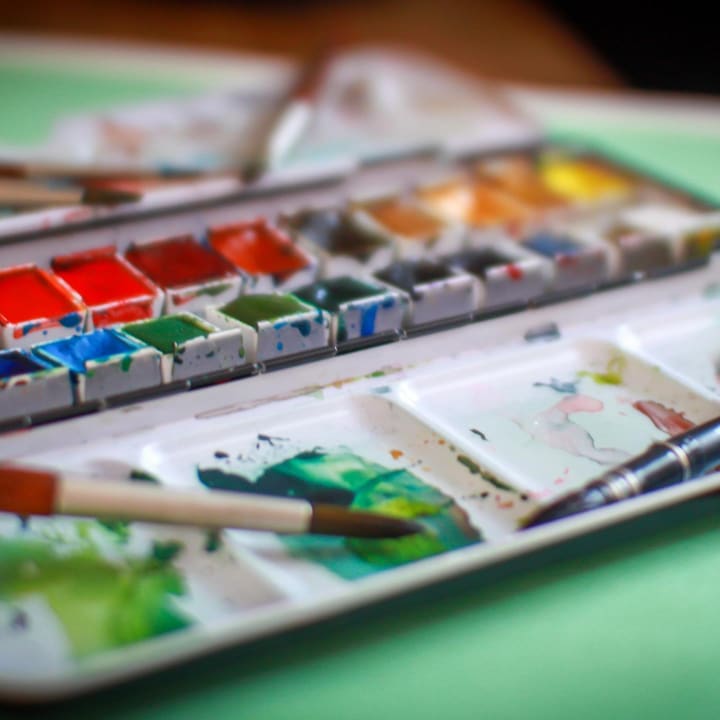
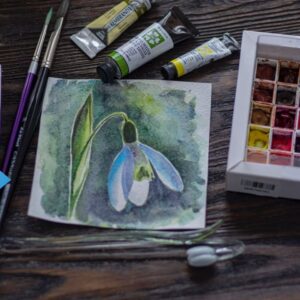
 The following are the most popular watercolor techniques that have been developed by the artist themselves: