Day: August 22, 2022

7 Ways To Ensure Your Artwork Is Print Ready

No Comments

A quick guide on what to think about when preparing your artwork for printing.

It is important you follow these guidelines as any errors made are likely to cause a delay or cause unnecessary stress should the final print quality be sub-standard.

1. Check your files
Check your artwork for spelling mistakes, grammar and ensure all images used are high resolution.

Double check to make sure as any errors found will delay the turnaround of your product.

2. Bleed
Bleed is the extra bit of the design page which you design on, as normal, with the knowledge that it will be trimmed off the finished flyer.

Any images on your artwork should bleed off the page, and essential text should be away from the trim edge by a good few mm’s.

We use a 2mm bleed area on each edge.

3. Text
Keep essential text away from the edge of the flyer, by about 8-10mm for best results.

4. Print Resolution
Ensure your artworks resolution is at least 300dpi. The higher the resolution the better.

5. File Formats
If you are using un-common fonts, ensure you supply your artwork as a flattened jpeg or tiff. This will ensure there will be no font problems when your artwork is checked.

The most commonly accepted program formats are Quark, Illustrator, Photoshop, Corel Draw, Corel Paint, Freehand, InDesign and Paint Shop Pro. Vector files such as .eps and pdf’s are becoming more common and ensure a better end product.
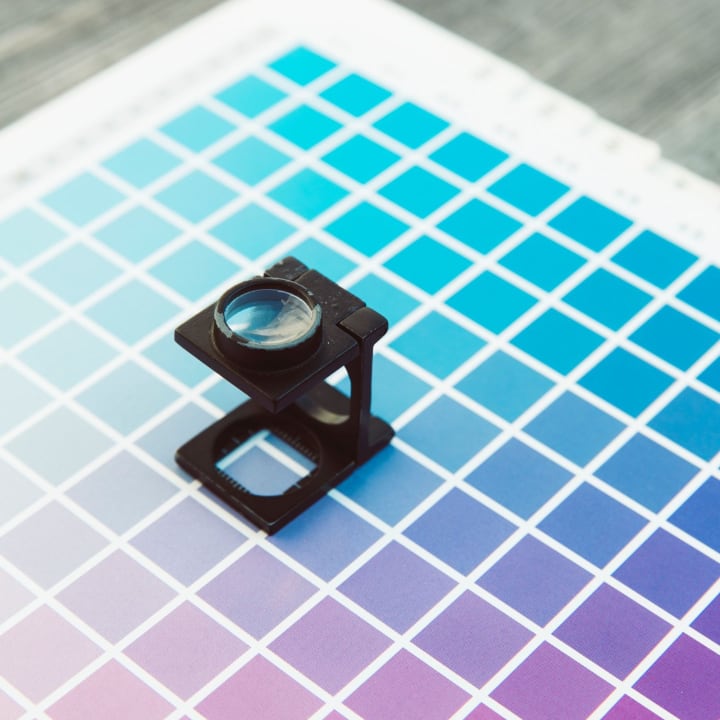
6. Colours
Unless you have a calibrated monitor your artwork is likely to have slightly different colours when printed. Ensure your colour choices are correct before sending to print.

7. A Final Check
Before sending to your printer, have one more final check that everything is as expected.

WARNING
There are two things you should consider when designing your prints:

Due to the quick turn around of our flyers, they are trimmed down not long after they are printed, in most circumstances we try to give a printed sheet 8 hours to dry completely, this isn’t always the case. This is noticeable when one side of the print is left white, and the other side bleeds rich colour to the trim edge. This will cause slight powdering of the rich ink over, on to the white side. In this circumstance we recommend the use of borders.

Borders on the edge of a flyer, can sometimes give the flyer a classic look. But make sure the borders are a good few mm in from the trim edge, because of the way we print flyers (up to 32 at a time) and the speed at which we turn them round (from payment, to your door) these borders may not be an accurate trim to the exact 10th of a mm. This is why we ask for a 2mm bleed. The cutting blade could go either way. We cannot be held responsible for imperfect results if these borders are slightly uneven.

These are some of the things you have to check before you send your artwork to the printer for high-quality prints.

Almost all artists learned first and then studied later

No Comments
drawing of an eye

Almost all artists learned first and then studied later. From the greatest to the least, every one of them practiced and learned with very little guidance if any. Along the way though, without exception, mistakes are made and as realization ultimately comes, are corrected.

The following is a compilation of the most common mistakes in drawing that you would want to avoid.

  • Do not start drawing with a hard pencil. Hard pencils are good for light shading but if you must start sketching use instead pencils with darker values like a 2B or a 4B.
  • When you are a beginner, do not use flash photography as reference. Flash photography because of the nature of its lighting gives you no depth to work on. Aside from that, perspective points are located behind the head that tends to flatten the features and expressions more. Even professional artists find it very hard to duplicate the expressions on a face when using flash photography. Making it harder is the fact that there is often a smile in the snapshot. The sketches from snapshots are more likely to produce faces that grin without a lively mirth to it.
  • If you must sketch a face, the model should face slightly to one side. This way you could have a good evaluation of skin tones, lights, and shadows that are natural and the natural expressions of the personality behind the sketch that you are working on.
  • Sketch for balance. Focusing much on a person’s feature especially those that stands out will tend to overemphasize a particular feature drawing them too big making the rest of the head out of proportion.
  • When starting to sketch, start with light stokes and ensure that the features of the model are in the correct angle with the rest of the head. This mistake is one of the most common as we are used to looking at a face straight on that when an angle is done, twitching and distortion of features occur.
  • Most sketches are not shaded past grey, when you shade, do not hesitate to go darker. It will add more strength and expression, give your drawing more depth and drama. Limiting your shades to dark grey decreases your tone range. So experiment with darker values. To get a better idea, have a dark colored (even black) paper at the edge of the drawing and use it for tone reference.
  • Choose the paper well. Papers that are manufactured with sheen on the surface will result to pale drawings, as the paper is too smooth to hold pencil particles. On the other hand too coarse a paper will hold too much of pencil particles that your application of shades will be off. Select a paper which is neither too coarse not too smooth.
  • When sketching foliage, do not use circular hand motion and strokes. Use instead crescent shaped marks. That way your foliage and trees will appear more natural and realistic.
  • Among the common mistakes in drawing grass or hair is to draw every blade and every hair leaving a mangled wiry effect. Use contrast instead. To avoid this, apply also feathery light pencil strokes.

But of course, you need to make mistakes to progress so don’t worry if you do a terrible drawing. To get better, you need to make mistakes.

Categories: drawing Tags: Tags: , , ,